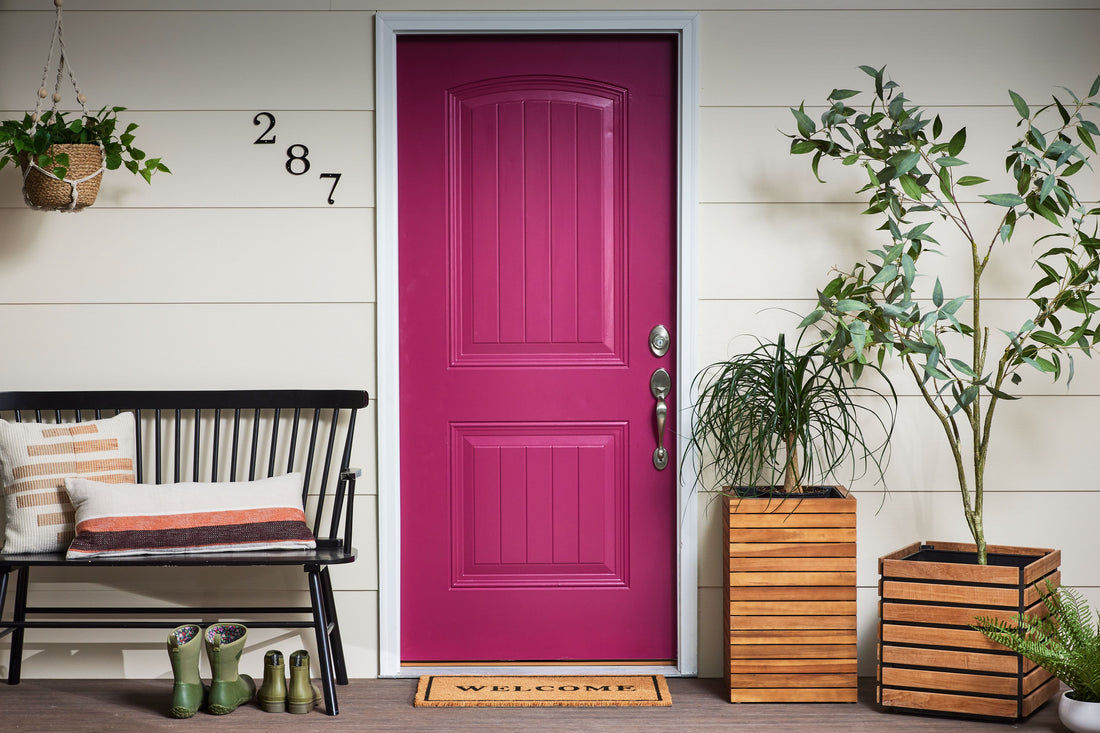
Painting your exterior door is one of the easiest and most affordable ways to refresh the appearance of your home. Whether you’re preparing to sell, improving curb appeal, or simply ready for a change, a freshly painted door can make a significant impact.
This guide will walk you through everything you need to know—from choosing the right paint to applying the final coat so you can achieve professional-looking results without hiring a contractor.
Why You Should Repaint Your Exterior Door
Your front door is more than just an entryway; it’s a focal point of your home’s exterior. Over time, weather, sunlight, and daily wear can cause the paint to fade, chip, or peel. Repainting helps restore its original beauty while also providing essential protection from the elements. A well-maintained door not only looks better but also lasts longer, reducing the chances of warping, cracking, or other damage caused by moisture and temperature changes.
Choosing the Right Paint and Finish
Before you begin, it’s important to select the correct type of paint. For exterior doors, a high-quality exterior-grade paint is essential. It must withstand rain, sun, wind, and temperature shifts. You can choose between oil-based and latex-based paints. Oil-based paints are known for their durability and smooth finish, but they take longer to dry and require mineral spirits for cleanup. Latex-based paints, on the other hand, are easier to work with, dry faster, and clean up with water. Both can be used, but be sure to match your new paint with the existing paint type unless you're planning to strip the door completely.
When it comes to finish, semi-gloss and high-gloss are the best choices for exterior doors. These finishes not only highlight architectural details but also resist dirt and moisture better than flat or satin paints. Glossy finishes are also easier to clean, which is a plus for a high-touch area like a door.
Gathering the Right Tools and Preparing the Space
Before diving into the painting process, you’ll need to gather the appropriate supplies. Having everything on hand will save time and ensure a smoother experience. Essential items include a paintbrush, foam roller, paint tray, painter’s tape, drop cloths, sandpaper, and a screwdriver. You may also need a primer, depending on the door’s condition and the type of paint you’re using.
Preparation is key to a successful paint job. Start by removing any hardware from the door, such as the knob, lock, mail slot, or kickplate. If you’re unable or prefer not to remove certain hardware, cover them carefully with painter’s tape. Lay down drop cloths or old newspapers beneath the door to protect your flooring or porch area from paint drips.
Cleaning the door is another essential step. Use a mixture of mild detergent and warm water to wash away dirt, grease, and grime. Allow the surface to dry thoroughly before moving on to sanding. Sanding the door helps smooth out any imperfections and provides a better surface for the new paint to adhere to. If your door has peeling or chipped paint, you may need to use a scraper or a coarse sanding block to remove loose bits before smoothing the surface with fine sandpaper.
When to Use Primer
Primer isn’t always necessary, but there are several situations where it’s highly recommended. If you’re changing from a dark color to a much lighter one, primer helps prevent the old color from bleeding through. It’s also essential if the existing paint is oil-based and you’re switching to latex, or if the door is made of bare wood, metal, or fiberglass. Priming creates a uniform surface and improves the bond between the paint and the door. Be sure to choose an exterior primer that matches the material of your door.
After applying primer, allow it to dry completely. Follow the manufacturer’s instructions regarding drying times. Skipping this step or rushing through it can lead to uneven coverage or peeling down the line.
Deciding Whether to Remove the Door
While not strictly necessary, removing the door from its hinges can make the painting process easier, especially if you want a completely even finish. This is more common with wood doors, which are heavier but can be laid flat for easier access. If you choose to remove the door, set it on sawhorses in a well-ventilated area. If you decide to leave the door in place, be extra careful with your painter’s tape to avoid getting paint on the hinges or surrounding frame.
Painting the Door: Techniques and Tips
Once your door is clean, sanded, and primed, it’s time to paint. Stir your paint thoroughly and pour a small amount into a paint tray. Begin with a high-quality paintbrush for detail work. Start by painting the door’s recessed panels if there are any. Then move to the horizontal and vertical rails and stiles, working in smooth, even strokes. Use a foam roller for flat areas to avoid brush marks and achieve a smoother finish.
It’s important not to overload your brush or roller with too much paint. This can lead to drips and an uneven finish. Apply a thin first coat and allow it to dry completely. Drying time will vary depending on paint type, temperature, and humidity levels, so always refer to the paint can for guidance. Don’t rush the process—applying a second coat before the first one has fully dried can result in smudging or peeling.
Once the first coat is dry, inspect the surface. If the old color still shows through or the coverage seems uneven, apply a second coat using the same careful method. Two coats are usually sufficient for a clean, vibrant finish, especially if you used a primer. In some cases, particularly when covering dark colors with lighter shades, a third coat might be necessary.
Reinstalling Hardware and Letting the Paint Cure
After your final coat is completely dry, you can begin reinstalling the hardware you removed earlier. Make sure the paint is dry to the touch and doesn’t feel tacky before handling the surface. If you removed the door for painting, now is the time to carefully rehang it.
Keep in mind that while the paint may feel dry after a few hours, it can take several days to fully cure. During this time, avoid attaching decorations like wreaths or using strong adhesive hooks. Be gentle when opening and closing the door to prevent smudges or marks. Letting the paint cure properly ensures long-lasting results.
Maintaining a Painted Exterior Door
A freshly painted door can stay looking great for years with proper care. Wipe it down occasionally with a soft cloth and mild soap to remove dirt and dust. Avoid harsh chemicals or abrasive scrubbers, as these can damage the finish. If your door gets direct sunlight or is frequently exposed to rain and snow, consider adding a clear topcoat or sealant to protect the paint and increase its lifespan.
Keep an eye out for signs of wear like fading, chipping, or peeling. These usually appear after a few years, depending on weather exposure and the quality of the paint. When these signs show up, it may be time for a fresh coat.
Final Thoughts
Painting your exterior door is a straightforward DIY project that can dramatically enhance the look of your home. By choosing the right paint, properly preparing the surface, and applying each coat with care, you can achieve professional-quality results. The process does require some time and patience, but the transformation is well worth the effort. Whether you’re refreshing an old favorite or giving your home a brand-new personality, a freshly painted door is a great place to start.
FAQ (Frequently Asked Questions)
1. What kind of paint is best for an exterior door?
Use a high-quality exterior latex or oil-based paint in a semi-gloss or gloss finish for durability and easy cleaning.
2. Do I need to remove the door to paint it?
No, but removing the door can make the process easier and ensure a smoother finish.
3. Is it necessary to use primer before painting an exterior door?
Primer is recommended if you're changing colors, painting over bare wood or metal, or switching paint types.
4. How long should I wait between coats of paint?
Wait at least 4–6 hours between coats, or follow the paint manufacturer’s drying time instructions for best results.
5. How often should I repaint my exterior door?
Typically every 3–5 years, depending on weather exposure and the quality of the paint used.


