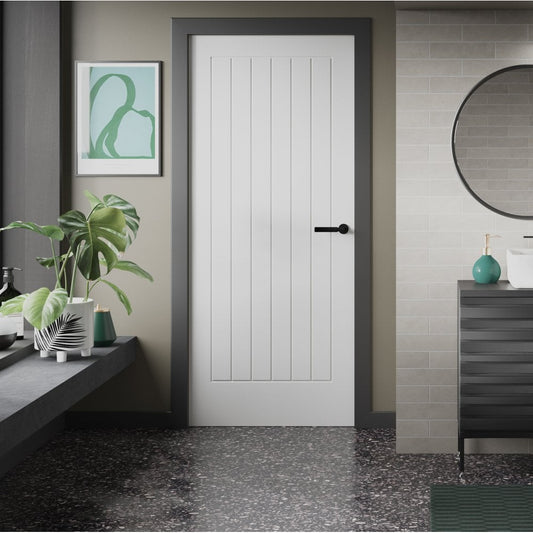
Skirting boards, or baseboards, are a key feature in most homes, providing a neat and finished look while also protecting walls from damage. Over time, skirting boards can become scuffed, scratched, or simply worn out from regular use. Regular maintenance and a fresh coat of paint can bring back their original charm, making them look like new.
In this guide, we’ll walk you through the steps to paint and maintain your skirting boards to ensure they stay in top condition for years to come.
Why Skirting Boards Need Maintenance
Skirting boards often take a lot of wear and tear. They are constantly exposed to foot traffic, cleaning products, and sometimes even scuffs from furniture. Dust and dirt can accumulate in the crevices, and over time, the paint or finish may begin to dull, chip, or discolor. Proper maintenance helps to protect your skirting boards from damage, improve their appearance, and prolong their life.
Materials and Tools Needed for Painting Skirting Boards
Before diving into the painting process, you need to gather the right materials. Here’s what you’ll need:
Tools:
- Paintbrush (preferably angled for precision)
- Roller (for larger surfaces)
- Painter's tape
- Sandpaper (medium grit, around 120-150 grit)
- Tack cloth or damp rag
- Drop cloth or old newspapers
- Step ladder (if necessary for reaching high areas)
Materials:
- Primer (if required for bare wood or previously unpainted surfaces)
- Paint (suitable for wood, or a satin/matt finish for skirting boards)
- Caulk (if there are gaps or cracks that need filling)
- Wood filler (for any dings or holes)
- Clear varnish or topcoat (optional, for added protection)
Having these materials ready will ensure you can complete the job smoothly without interruptions.
Step-by-Step Guide to Painting Skirting Boards
Step 1: Preparation is Key
The first step to achieving a high-quality paint job is proper preparation. Start by removing any furniture or obstacles around the skirting boards. Lay down a drop cloth or newspapers to protect your floors from paint splatters. Use painter’s tape to mask off the edges where the skirting meets the wall and the floor. This will give you clean lines and prevent the paint from getting on areas where it’s not wanted.
Step 2: Cleaning the Skirting Boards
Before applying any paint, it’s crucial to clean your skirting boards thoroughly. Dust, grime, and fingerprints can interfere with the paint adhesion, resulting in an uneven finish. Use a damp cloth to wipe down the skirting, and if there’s stubborn dirt, use a mild cleaning solution. Avoid harsh chemicals that could damage the wood.
Step 3: Sanding the Surface
Once your skirting boards are clean and dry, use medium-grit sandpaper to lightly sand the surface. Sanding will help smooth out any imperfections, rough spots, and old paint. It also creates a slightly textured surface, which will help the new coat of paint adhere better. If the boards have been painted before, you don’t need to completely remove all the paint, just roughen the surface slightly.
After sanding, wipe away any dust with a tack cloth or a damp rag to ensure a clean surface for painting.
Step 4: Filling Any Gaps or Holes
Skirting boards often have small holes or gaps, especially if they have been in place for years. Use wood filler or caulk to fill in any noticeable imperfections. For gaps between the skirting and the wall, caulk can create a smooth, professional finish. For deeper holes or dings, wood filler is your best bet. Once the filler dries, sand it down to make it level with the surrounding surface.
Step 5: Applying Primer (if needed)
If you’re painting bare wood or over a surface with peeling paint, applying a primer is a good idea. Primer creates a uniform surface for the paint to stick to, improving the durability and finish of your topcoat. Choose a primer designed for wood surfaces and apply a thin, even coat. Let it dry according to the manufacturer’s instructions before moving on to painting.
Step 6: Painting the Skirting Boards
Now that your skirting boards are prepped, it’s time to apply the paint. Start by using an angled paintbrush to carefully paint the edges where the skirting meets the wall and floor. Work in small sections, making sure to apply a thin, even coat. For larger areas, you can use a small roller to speed up the process and ensure a smooth finish.
Most skirting boards require at least two coats of paint for full coverage. Allow the first coat to dry completely before applying the second coat. Be sure to follow the manufacturer’s drying time instructions between coats.
Step 7: Finishing Touches
Once your second coat of paint is dry, carefully remove the painter's tape from the edges. This will leave you with crisp, straight lines along the wall and floor. If desired, you can apply a clear varnish or topcoat to protect the paint and make it more durable, especially in high-traffic areas.
How to Maintain Your Painted Skirting Boards
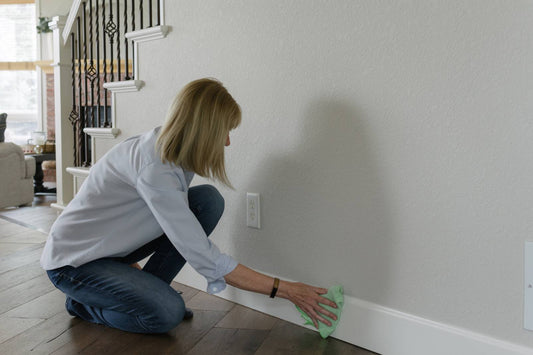
Regular Cleaning
To keep your skirting boards looking fresh, regular cleaning is important. Dust them every week or so to prevent grime from building up. Use a microfiber cloth or a duster to wipe them down gently. For more thorough cleaning, use a damp cloth with a small amount of dish soap. Avoid abrasive cleaning tools that could scratch or damage the paint.
Addressing Wear and Tear
Over time, skirting boards may get scuffed or scratched. If this happens, you don’t need to repaint the entire board. Instead, touch up the damaged areas with a small brush and matching paint. If the scuffs are significant, lightly sand the area before touching up to ensure the paint adheres properly.
Preventing Damage
One of the best ways to maintain your skirting boards is to prevent damage in the first place. Consider using felt pads on the bottoms of furniture legs to prevent scratches. If you have pets or children, you may want to apply a protective coating or varnish to prevent scuffs and dents from everyday activities.
Keeping Gaps Sealed
If you notice that the caulk between your skirting boards and walls is starting to peel or crack, it’s time to reapply. Removing old caulk and applying fresh caulk will help maintain a neat and seamless finish. This is especially important in areas with fluctuating humidity levels, as this can cause the caulk to shrink or crack.
Conclusion
With proper preparation and regular maintenance, your skirting boards can stay in excellent condition and continue to add value to your home. Whether you’re repainting them for a fresh new look or simply maintaining their existing finish, following these steps will ensure a high-quality result. By taking the time to clean, repair, and repaint your skirting boards, you’ll enhance the aesthetic appeal of your home while preserving their durability for years to come.